Newsletter
Launch CR HD V2 Software Download and Update
Matched product:
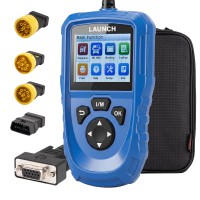
Launch CR HD V2 New Generation Heavy-duty Truck Tool Standard Configuration Supports J1708/ J1939/ J1979/ J1850/ PWM and VPW Protocols
£70
- Item No. Y-HKSC568
- Free Shipping
Launch CR HD V2 is a next-gen heavy-duty truck tool for DIY users, supporting HD OBD/EOBD, fast diagnostics, live data, graphs, voltage checks, and more. It covers J1708/J1939/J1979 and offers free lifetime upgrades.
Step 1: Download the DIY Integration Upgrade Tool
Open your web browser and navigate to the official Launch download portal:
https://en.cnlaunch.com/download/
On the download page, locate and select the option for the DIY Integration Upgrade Tool.
Click the Download button to save the installer to your computer.

Step 2: Install and Launch the Upgrade Tool
Run the downloaded installer and follow the on-screen instructions to complete the installation.
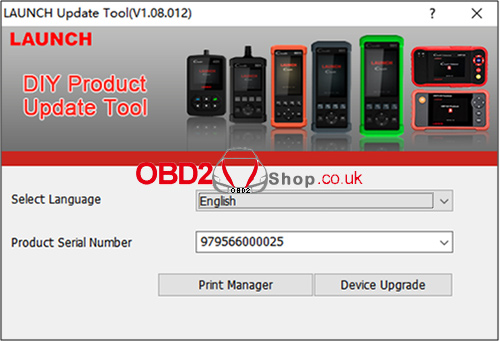
Open the newly installed DIY Integration Upgrade Tool client on your computer.
Choose your preferred language (the default is set to English).
Enter the Serial Number of your CR HD V2 device.
Click the Device Upgrade button to proceed.
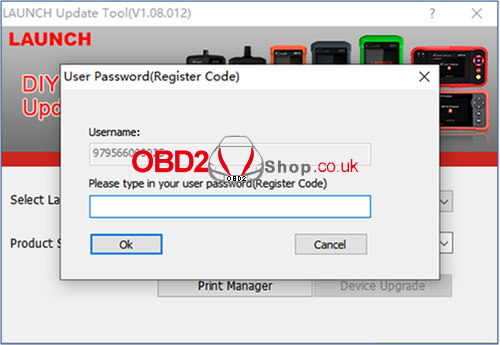
Step 3: Enter Your Device Registration Code
The upgrade tool will prompt you for a Registration Code.
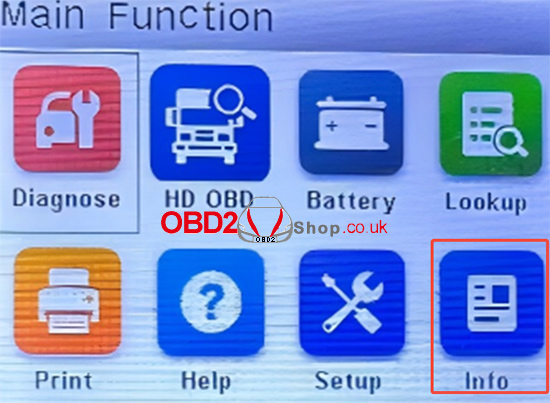
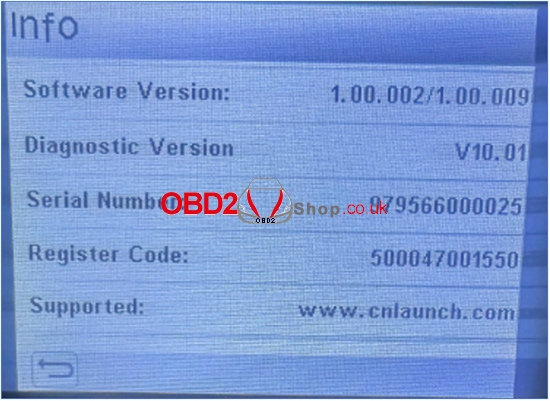
On your CR HD V2 device, navigate to:
Function Homepage → Info → Register Code
Carefully enter the registration code displayed on your device into the corresponding field in the upgrade tool on your computer.
Step 4: Select and Install Updates
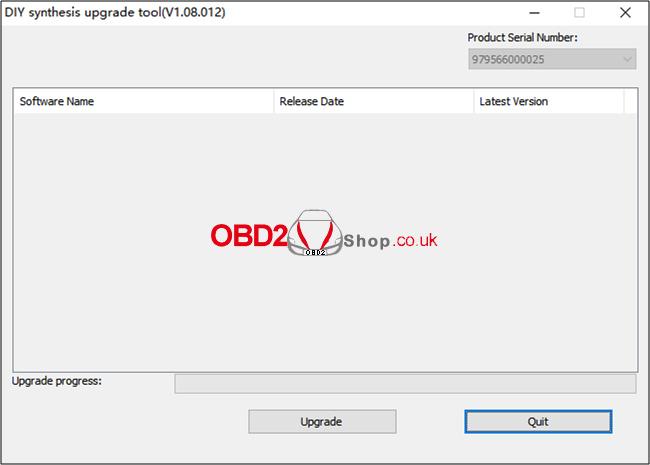
After successful verification, the tool will display a list of available software updates for your device.
Select the updates you wish to install.
Note: If your device software is already current, this list may be empty.
Click the Upgrade button to begin the installation process. Do not disconnect your device until the update is fully complete.
For a wide range of diagnostic tools, accessories, and support, visit:
www.obd2shop.co.uk